Language/React
[React] 예시 1. 순수한 자바스크립트 페이지를 리액트 JSX 문법으로 바꾸기
print(blue)
2024. 6. 2. 19:00
1. 자바스크립트로 구현
# p240530/react/ex01-javascript.html
<!DOCTYPE html>
<html lang="ko">
<head>
    <title>순수한 자바스크립트 페이지</title>
    <meta charset="UTF-8">
    <meta name="viewport" content="width=device-width, initial-scale=1.0">
    <style>
        body {
            text-align: center;
        }
        form {
            margin-bottom: 20px;
        }
        .main-card button {
            position: relative;
            left: -45px;
            bottom: 15px;
        }
        .favorites {
            list-style: none;
            display: flex;
            justify-content: center;
            gap: 20px;
        }
        .favorites img {
            width: 150px;
        }
    </style>
</head>

<body>
    <h1>상품 1 페이지</h1>

    <form action="">
        <input type="text" name="name" placeholder="상품명을 입력하세요.">
        <button type="submit">추가</button>
    </form>

    <div class="main-card">
        <img src="img/food-one.jpg" alt="올리브 오일" width="400">
        <button type="button">🤍</button>
    </div>

    <ul class="favorites">
        <li>
            <img src="img/food-one.jpg" alt="올리브 오일">
        </li>
        <li>
            <img src="img/food-two.jpg" alt="핫케이크">
        </li>
        <li>
            <img src="img/food-three.jpg" alt="스테이크">
        </li>
    </ul>

    <script>
        // 1. 하트(좋아요) 버튼 element 접근
        const likeButton = document.querySelector('.main-card button');

        // 2. 하트(좋아요) 버튼 클릭했을 때
        likeButton.addEventListener('click', () => {
            // 3. 하트 색 변경
            likeButton.innerHTML = '🧡';

            // 4. 이미지가 추가될 element 접근
            const favorites = document.querySelector('.favorites');

            // 5. img element 생성
            const newImage = document.createElement('img');
            newImage.src = 'img/food-one.jpg';

            // 6. li element 생성
            const li = document.createElement('li');

            // 7. li 에 img 자식으로 추가
            li.appendChild(newImage);

            // 8. favorites 에 li 를 자식으로 추가
            favorites.appendChild(li);
            console.log(li)
        })
    </script>
</body>
</html>
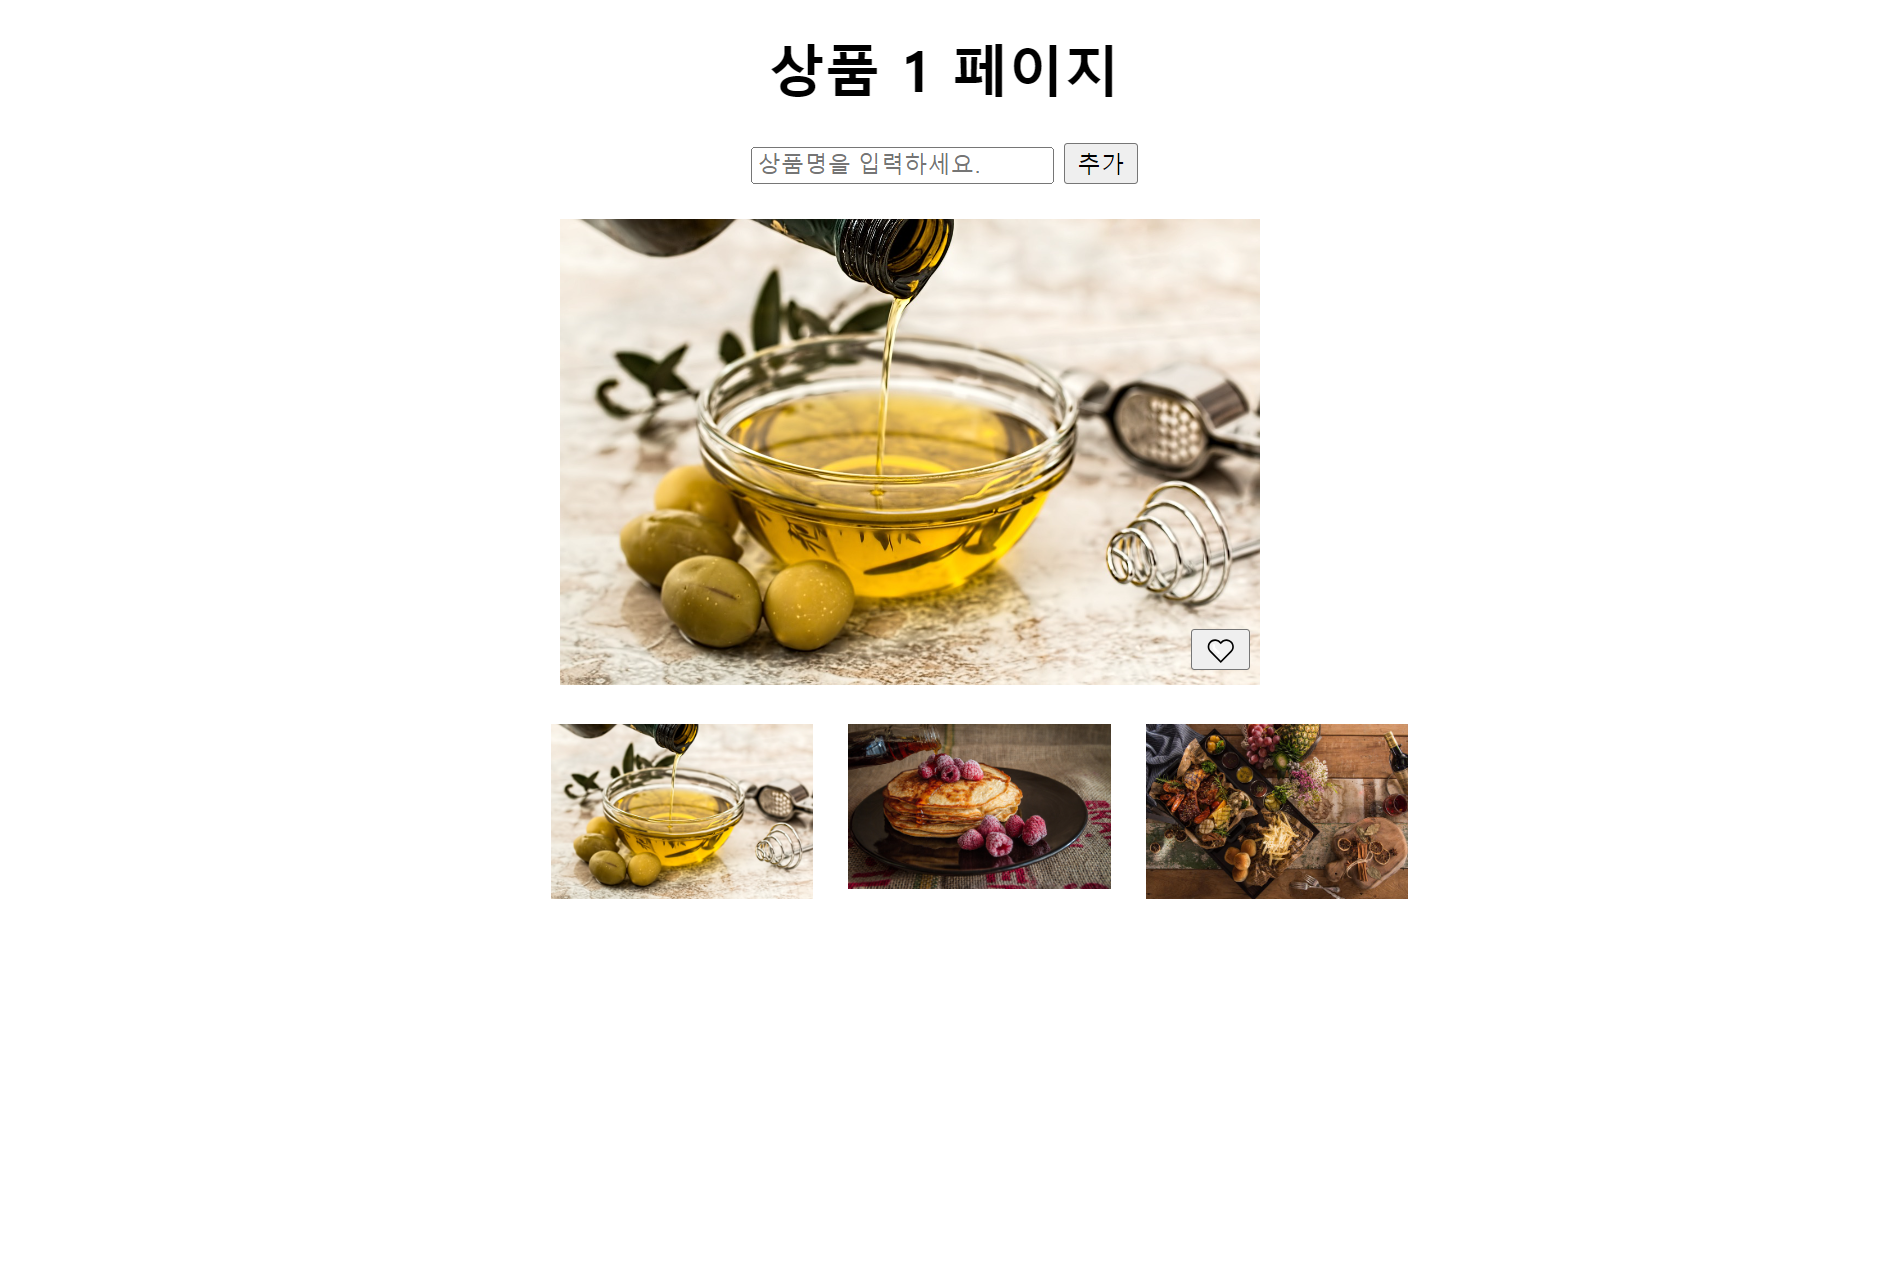
기본 페이지
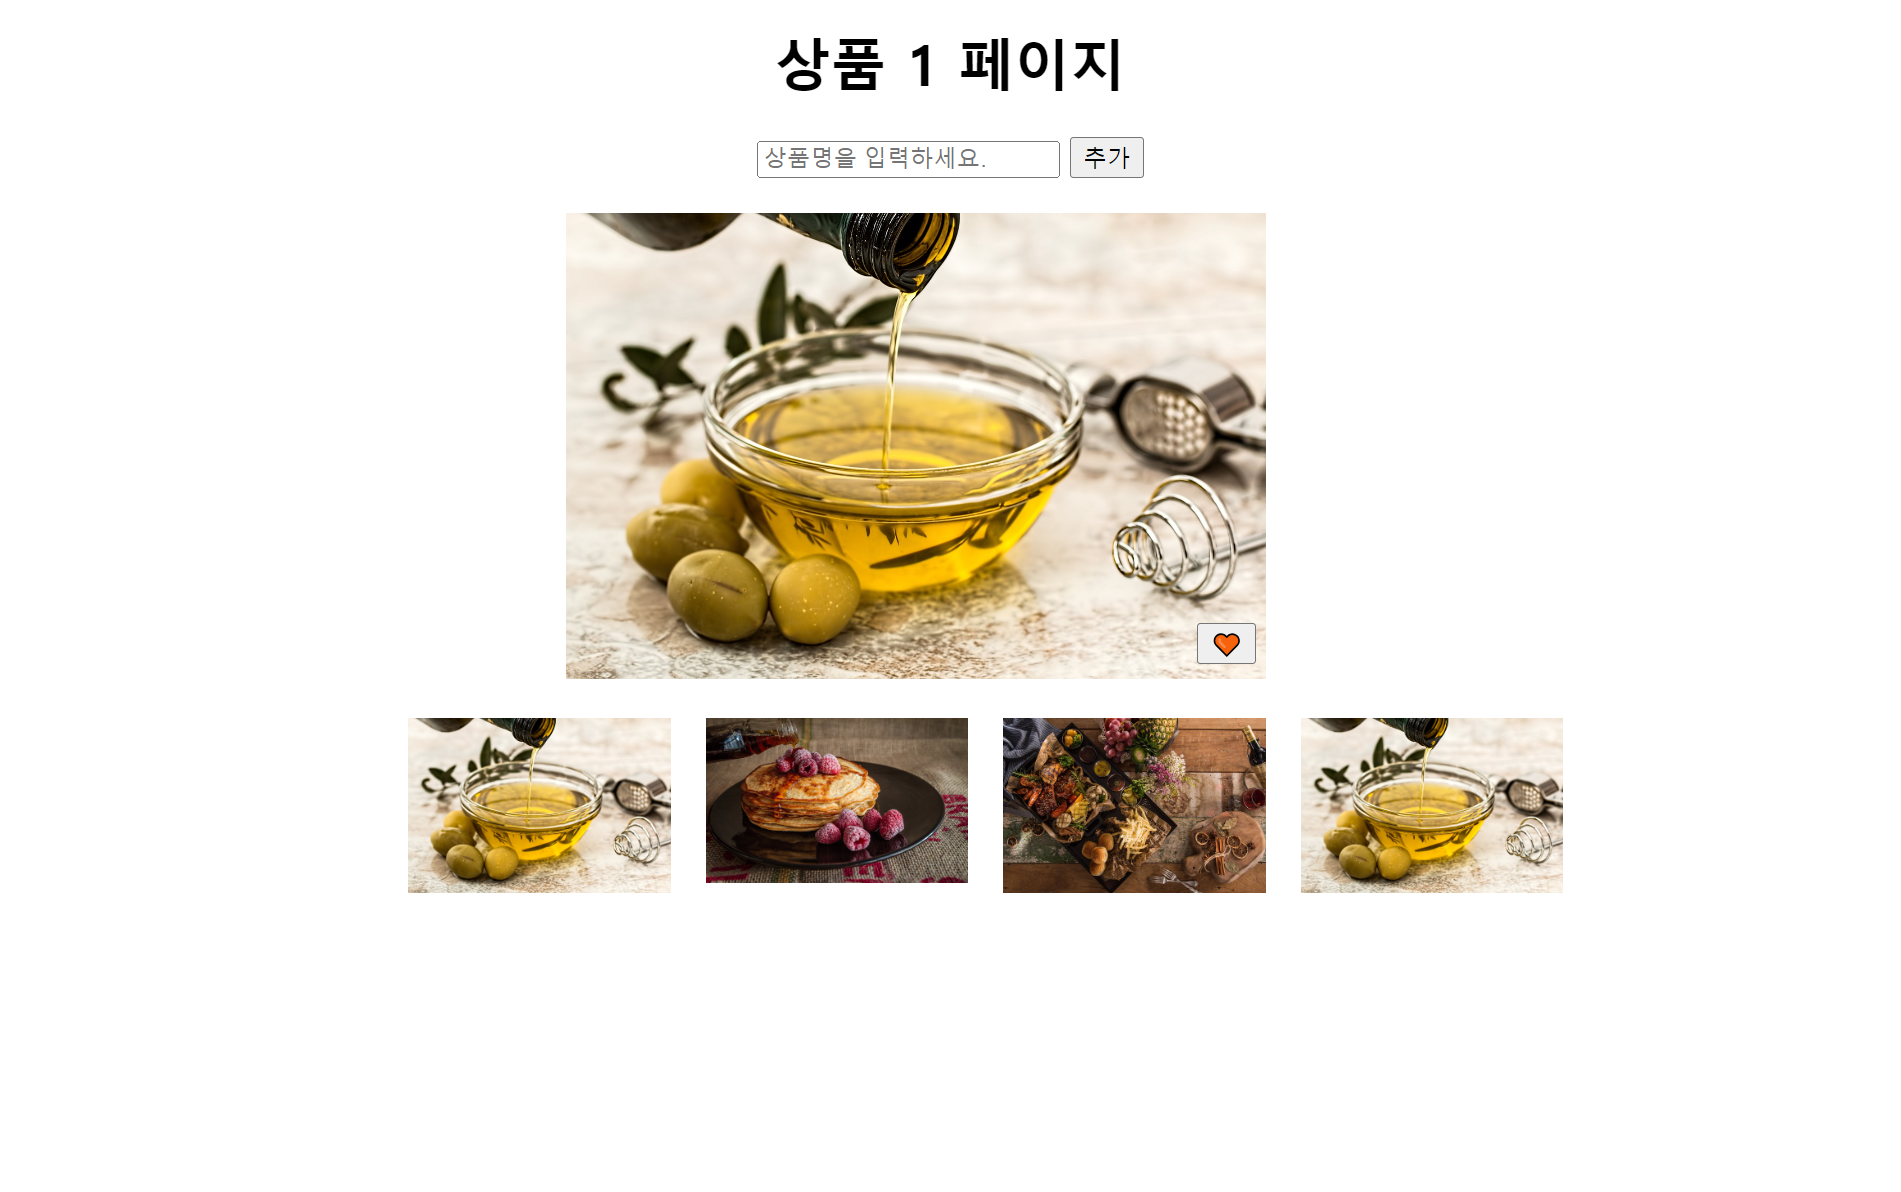
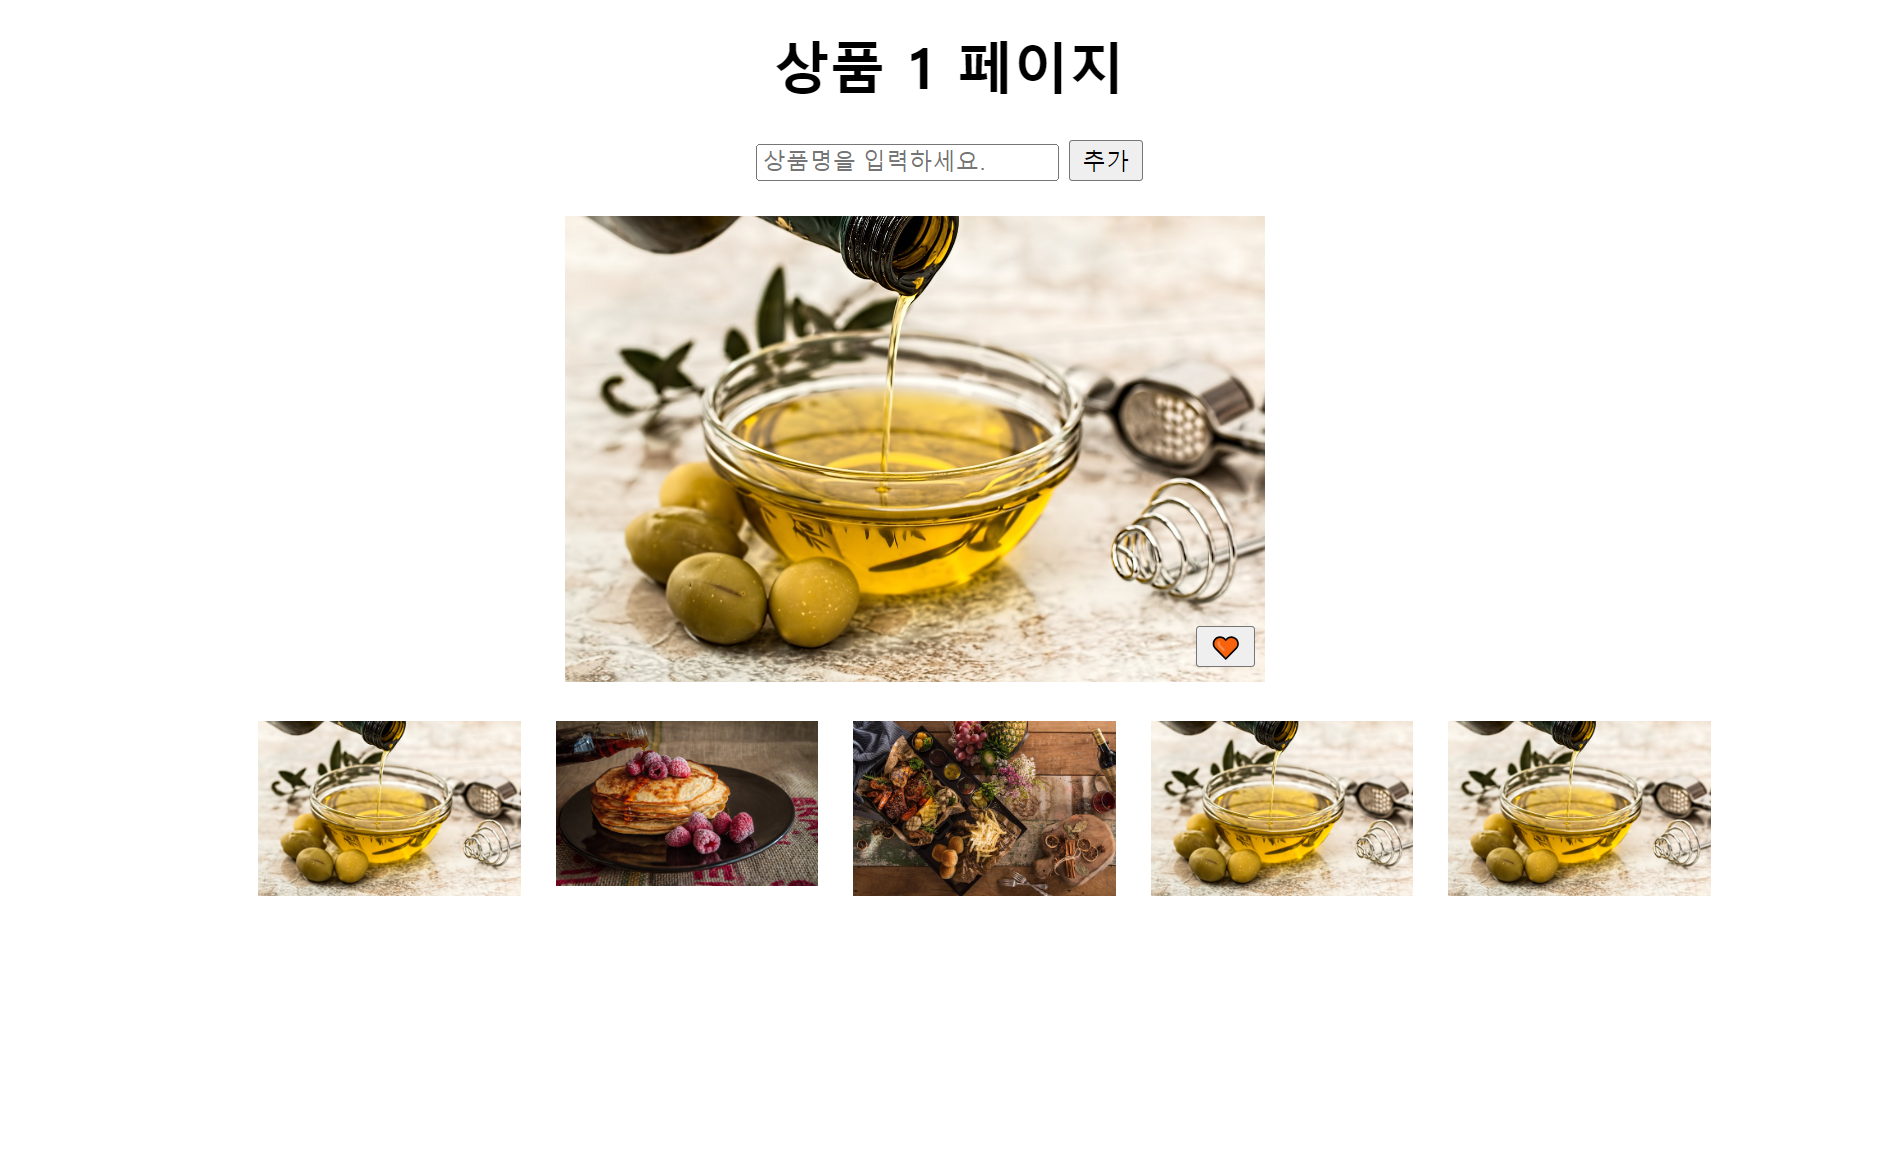
기능 1. 좋아요 버튼 클릭시 하트 색 변경&이미지 추가된 모습
2. 자바스크립트를 리액트 JSX 문법으로 변환
head 영역
React 추가하기 위해 스크립트 태그 추가 !
(https://ko.legacy.reactjs.org/docs/add-react-to-a-website.html)
<!DOCTYPE html>
<html lang="ko">

<head>
  <title>[React] JSX</title>
  <meta charset="UTF-8">
  <meta name="viewport" content="width=device-width, initial-scale=1.0">
  <style>
    body {
        text-align: center;
    }
    form {
        margin-bottom: 20px;
    }
    .main-card button {
        position: relative;
        left: -45px;
        bottom: 15px;
    }
    .favorites {
        list-style: none;
        display: flex;
        justify-content: center;
        gap: 20px;
    }
    .favorites img {
        width: 150px;
    }
  </style>
  <!-- React를 실행. -->
  <!-- 주의: 사이트를 배포할 때는 "development.js"를 "production.min.js"로 대체하세요. -->
  <script src="https://unpkg.com/react@18/umd/react.development.js" crossorigin></script>
  <script src="https://unpkg.com/react-dom@18/umd/react-dom.development.js" crossorigin></script>
  <script src="https://unpkg.com/babel-standalone@6/babel.min.js"></script>
</head>
body 영역
추가할 위치(element) 를 추가한다 !
리액트로 구현될 때는 body 부분에 element 요소가 보통 1~2개 정도 있음 !
<!-- react element 추가될 element -->
<div id="food-li-insert"></div>
body 내 javascript 영역
react 를 사용하기 전에 babel 에 대해 먼저 알아야 한다 !
https://print-blue.tistory.com/192
React 프로젝트 세팅을 위한 바벨
Babel Babel is a JavaScript compiler. 즉 자바스크립트 컴파일러이다 ! 자바스크립트는 인터프리터 언어인데 왜 컴파일러가 필요하지 ? 라는 생각을 가질 수 있다 !정확히는 babel 이 javascript 로 결과물을
print-blue.tistory.com
<!-- babel : 자바스크립트 컴파일러  -->
<script type="text/babel">
...
</script>
 // 리액트 엘리먼트
const h1 = <h1>상품 1페이지</h1>
const form = (
  <form action="">
    <input type="text" name="name" placeholder="상품명을 입력하세요"/>
    <button type="submit">추가</button>
  </form>
);
const mainCard = (
  <div className="main-card">
    <img src="img/food-one.jpg" alt="올리브 오일" width="400"/>
    <button>🤍</button>
  </div>
);
const foodItem = (
  <li>
    <img src="img/food-one.jpg" alt="음식"/>
  </li>
);
const favorites = (
  <ul className="favorites">
  {foodItem}
  {foodItem}
  {foodItem}
  </ul>
);
보통 reder 넣기 전 하는 작업으로 변수명을 app 으로 한다 !
const app = (
  <div>
    { h1 }
    { form }
    { mainCard }
    { favorites }
  </div>
);
react element 가 추가될 위치 선언하고,
const foodListInsert = document.querySelector('#food-li-insert');
react dom 을 이용하여 엘리먼트를 추가한다 !
17버전까지는 아래 코드처럼 했지만,
ReactDOM.render(foodItem, foodListInsert);
18버전 부터는 body 기준으로 추가하며,
reder 는 1개의 element 만 가능하다.
ReactDOM.createRoot(foodListInsert).render(app);